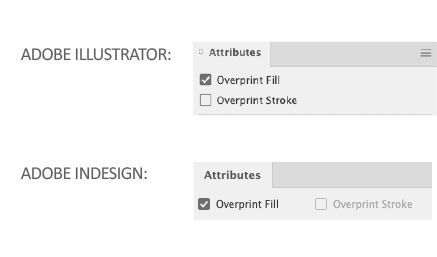
Overprinting: Knife Lines & Embellishments
Setting up layers, spot colours and overprinting in artwork.
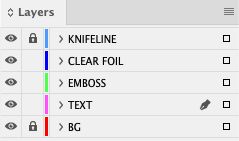
LAYERS
Layers help organise your layout. By positioning related objects together on the same layer, you can turn items off and on for viewing, you can also lock layers while working on your layout.
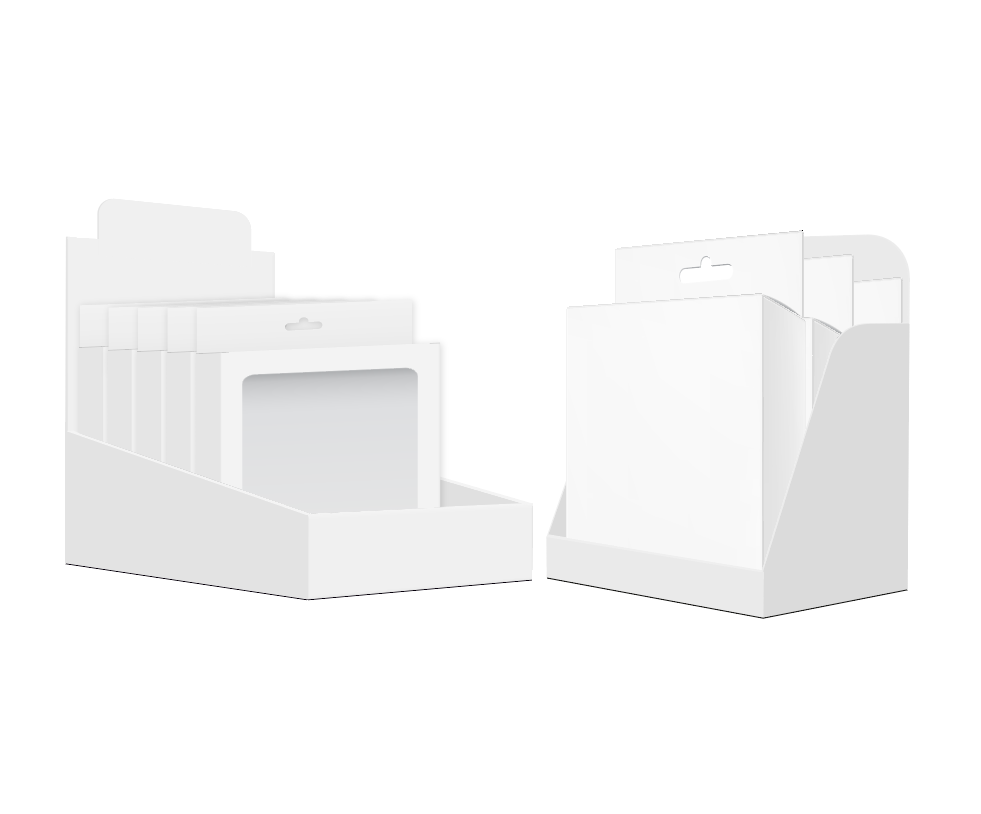
At BPG, we suggest that all working files be supplied with orderly layers, where elements such as knife lines and embellishments can be isolated from the main artwork when required. This applies to both Adobe Indesign and Adobe Illustrator layout files.
SPOT COLOURS
Non-printing elements such as knife lines and embellishments (eg: foiling, spot varnishes, embossing, etc.) must be set up properly so they can be separated from the main artwork prior to printing.
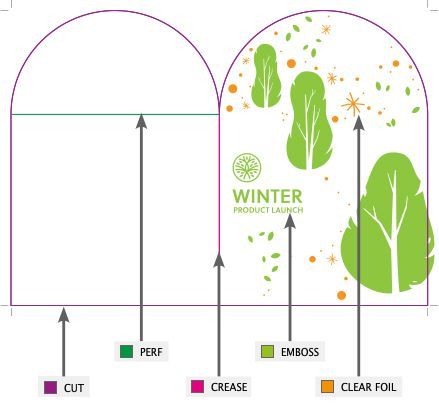
For each non-printing element, we must create a SPOT COLOUR swatch.
In addition, knife lines should be broken down to specific properties such as 'cut', 'crease', 'perforations', etc. and assigned designated spot colours.

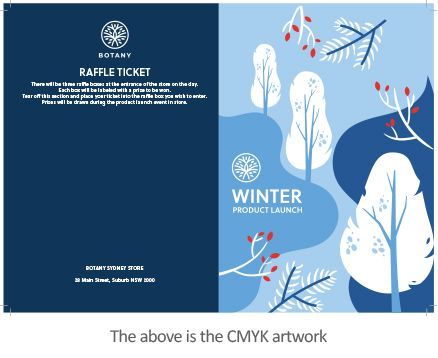
EXAMPLE: Assigning SPOT COLOURS to non-printing elements:
OVERPRINTING
By default, when you place graphic elements on top of each other in your layout program, the overlapping colour area on top will 'knock out' (remove) the colour area underneath.
To ensure knife lines and embellishments do not 'knockout' the artwork underneath it, we must use 'overprinting'. Setting non-printing page elements to overprint in your artwork ensures the colour areas below are not removed.
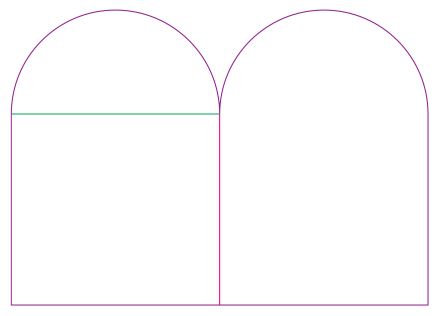
1. KNIFE LINE EXAMPLE
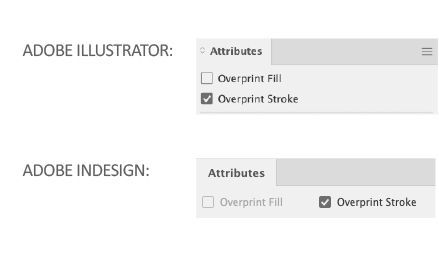
Setting the strokes of the knife line to overprint:
✘ OVERPRINTING NOT APPLIED TO THE KNIFE LINE
Artwork underneath the knife line has been 'knocked out' and white lines appear on the final artwork.

✓ OVERPRINTING APPLIED TO THE KNIFE LINE
Artwork underneath the knife line is not affected when exported for printing.

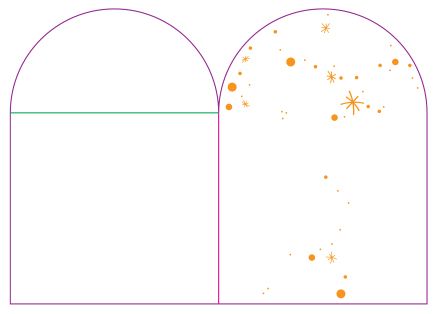
2. FOILING EXAMPLE
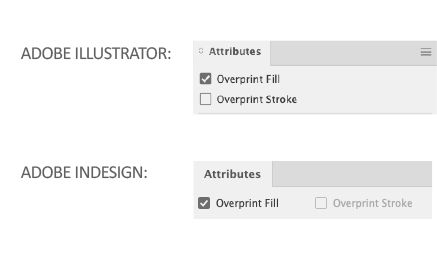
Setting the fill of the foiling areas to overprint:
✘ OVERPRINTING NOT APPLIED TO THE FOILING
Artwork underneath the foiling has been 'knocked out' so white areas appear on the final artwork.

✓ OVERPRINTING APPLIED TO THE FOILING
Artwork underneath the foiling is not affected. The clear foil will be applied over the light blue background.

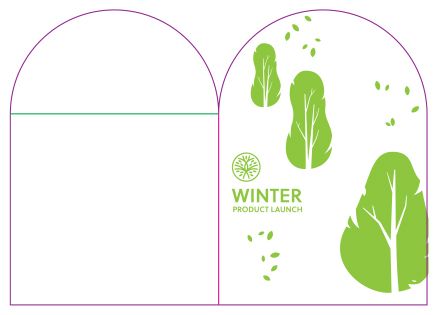
3. EMBOSSING EXAMPLE
Setting the fill of embossing areas to overprint:
✘ OVERPRINTING NOT APPLIED TO THE EMBOSSING
Artwork underneath the embossing has been 'knocked out'. The red leaves and the blue specks in the trees appear as white areas on the final artwork.

✓ OVERPRINTING APPLIED TO THE EMBOSSING
Artwork underneath the embossing is not affected. The red leaves and the blue specks in the trees appear as they should in the final artwork.

Contact Bright Print Group for specific information regarding your job. Our prepress staff can help guide you to set up your artwork files so they are print-ready!